
DIY Giveaway


My Summer Window Boxes
I was so excited when the people at 3M contacted me to see if I was working on any outdoor painting projects. It felt like the equivalent of Bruce Springsteen saying "Hey, want to sit in with the band?"....
.
slight exaggeration?...
.
I don't know....
.
Bruce, call me!

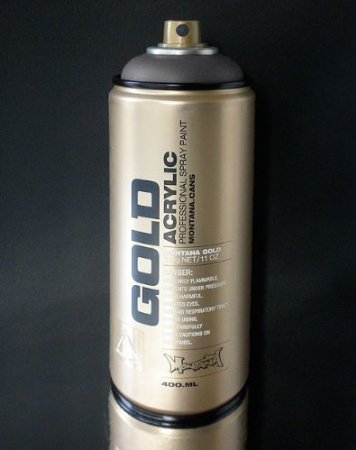
First, they sent me all these goodies.

This would probably not be the time to tell them that I am already addicted to many of these products.
I used
when I created a
.


I am always telling you that you need this mask when you spray paint.


Noise reduction hearing protection....
.
with...
.
wait for it...
.
radio/MP3/iPod capabilities! Put this on your holiday shopping list for the
diy
-
er
in your life. In case you are not a
diy
-
er
, no you don't
need
this for an outdoor painting project...
.
but I am totally wearing them and singing out loud while I paint. Sorry, neighbors.
I couldn't find a supermodel to show you how I looked or the products I used
...
so I found the next best thing.

Project time...
.
my window boxes were in desperate need of a fresh coat of paint!
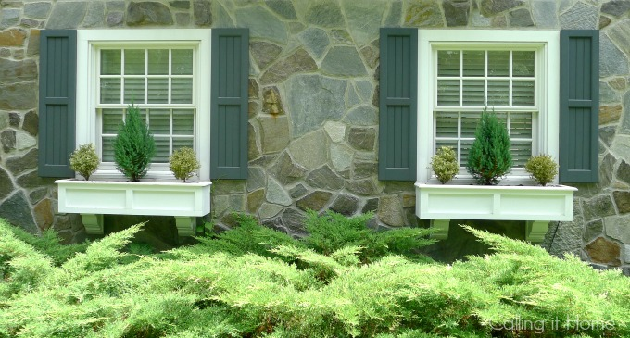
They look fine from the curb, right? Take a closer look.

Since these window boxes are a composite material...
.
the prep and paint is super easy.

1. Protect the stone or wall using
.
2. Lightly sand any rough spots. I am in love with
.
3. Wipe down after sanding.
4. Prime & paint.
Here are my freshly painted and newly planted window boxes.
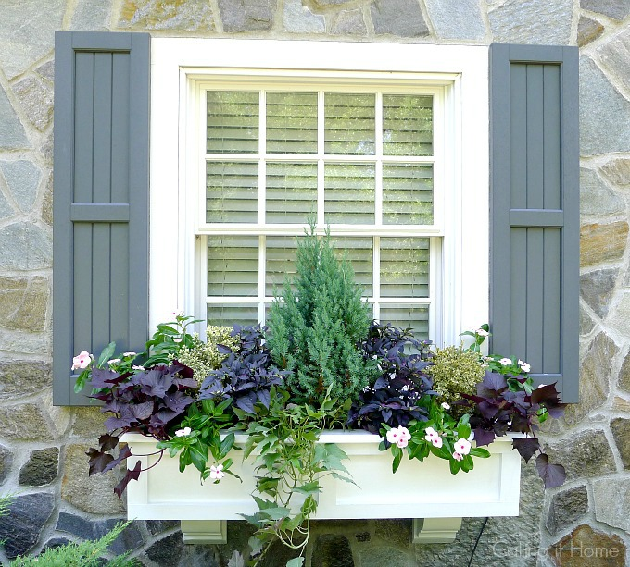

I like to layer color and texture in my containers & window boxes. The dark colors are a nice contrast to the white boxes. Stay cool...
.
it's hot!
This has been a sponsored post from my friends at


Meet Ozana
I would like you to meet Ozana.
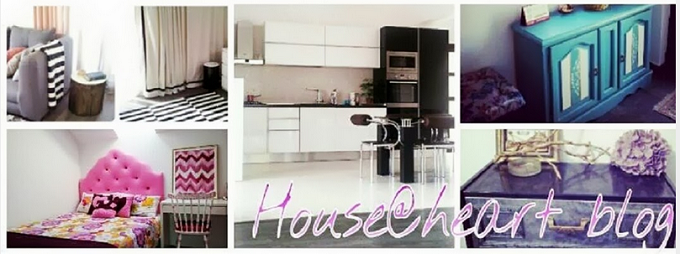


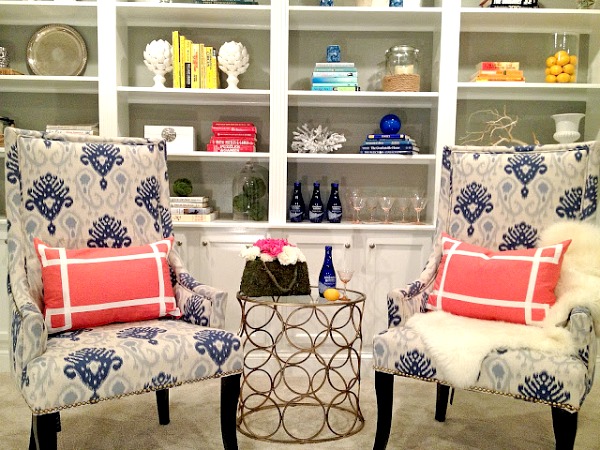
Meet Stephanie
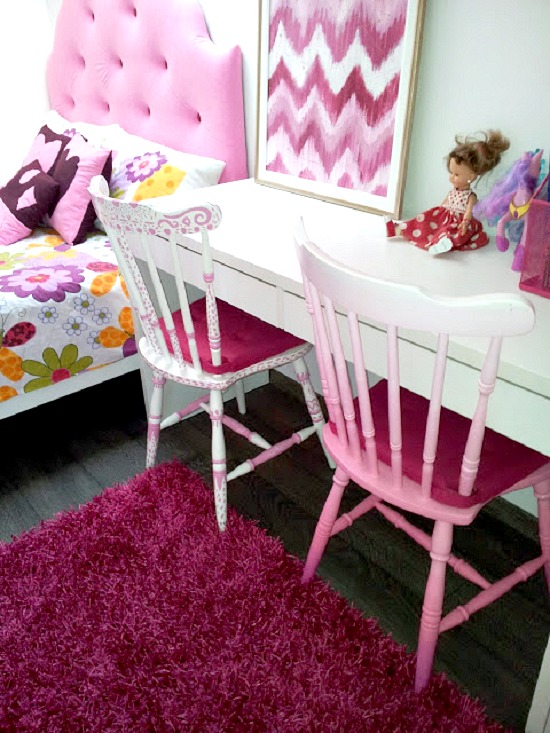
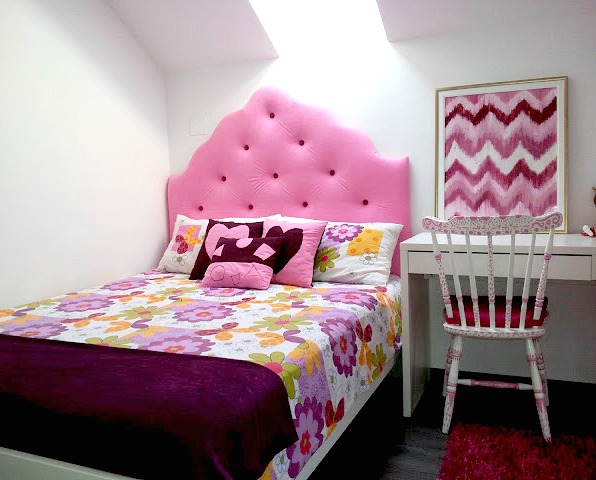
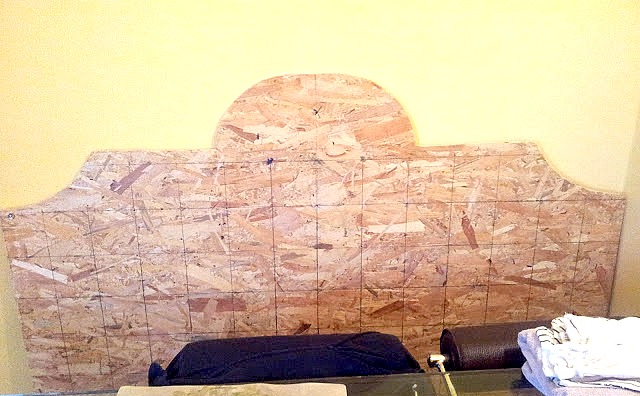
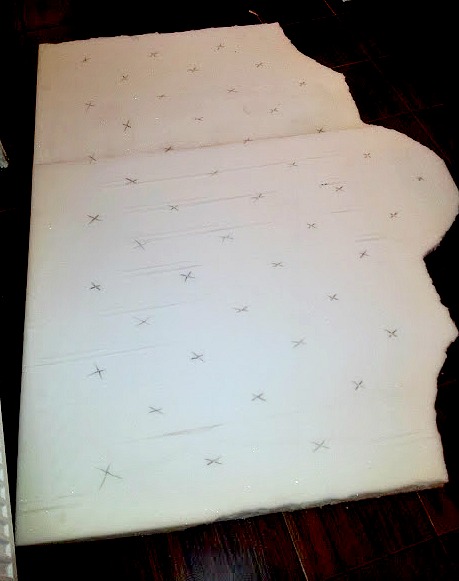
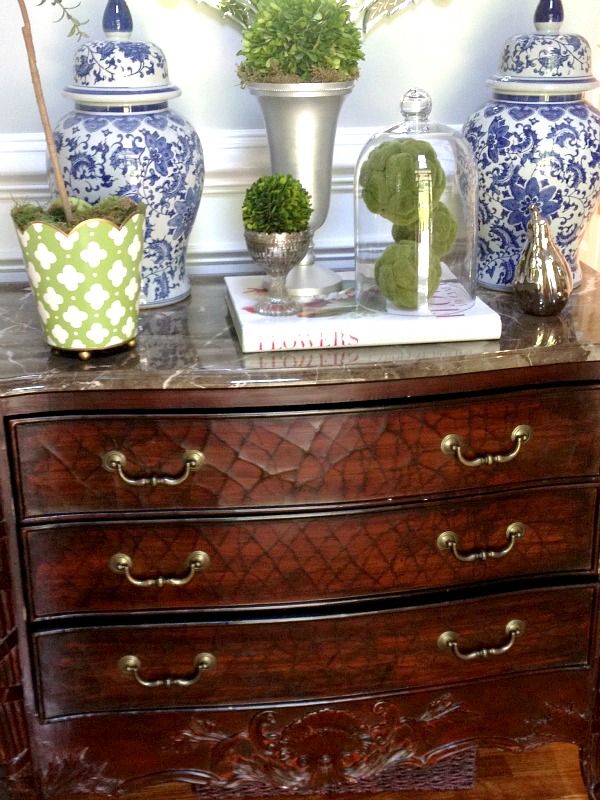
If you don't already know her, I would like you to meet Stephanie. She has an amazing eye for detail and puts together rooms like this one.
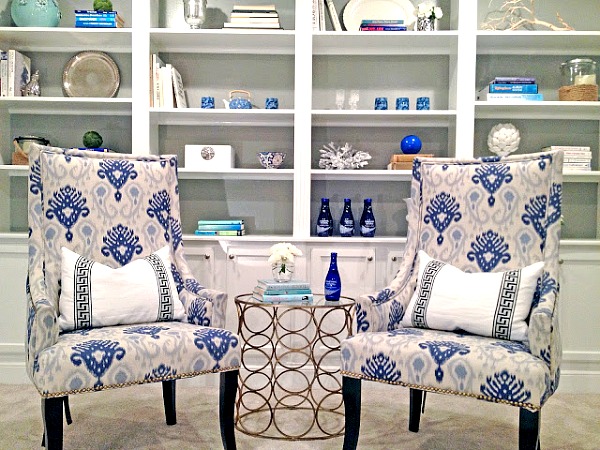
And then she layers it further.
Hi there Calling it Home readers! Stephanie Kraus here from Stephanie Kraus Designs!

Wow! I'm a huge fan of Linda's blog and her One Room Challenge series. So you can imagine how beyond honored I am that she chose me to include in her blog party (yeah me!). So I thought I'd share a mini before and after with you.


 |
| here |

My Best Student.....EVER!
Alright, who stole my week? I was so busy being Mom and getting caught up in my own life....I forgot to blog. Yup, didn't even think about it. That's probably a good thing....you know....balance. So here we are and it's Friday! I'm sure you could use a relaxing weekend, too. Here's some inspiration for you.
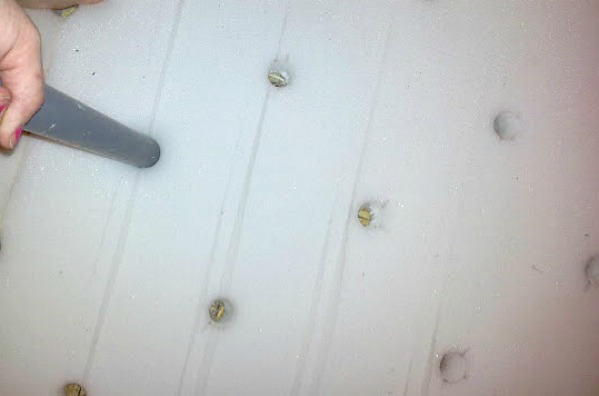
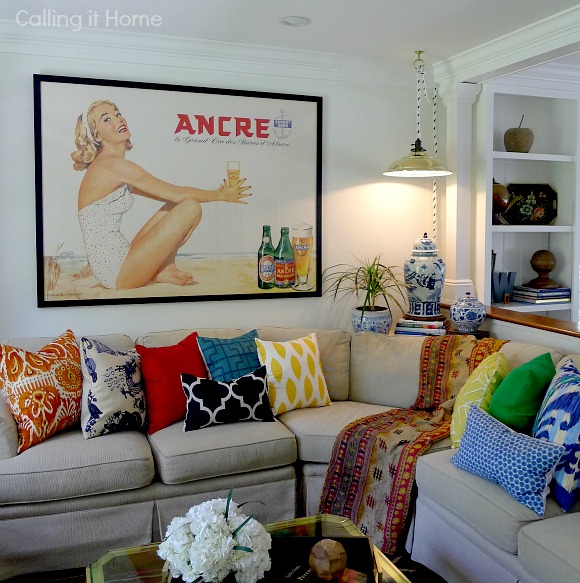
I want to introduce you to Meg....my best student....EVER! A few weeks ago, I found
and saw that she was using
to create this treatment in her living room. Meg and her husband did the entire treatment themselves.

It is amazing how much it looks like my wall.

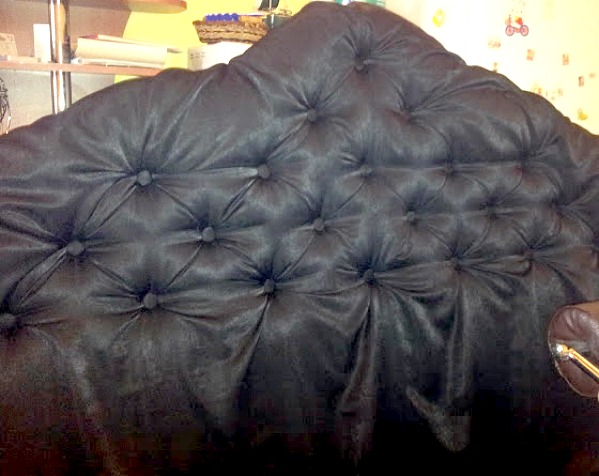
Here's another view of Meg's room

My entry

Meg emailed me to ask me a few questions, and the next thing I know....BAM.

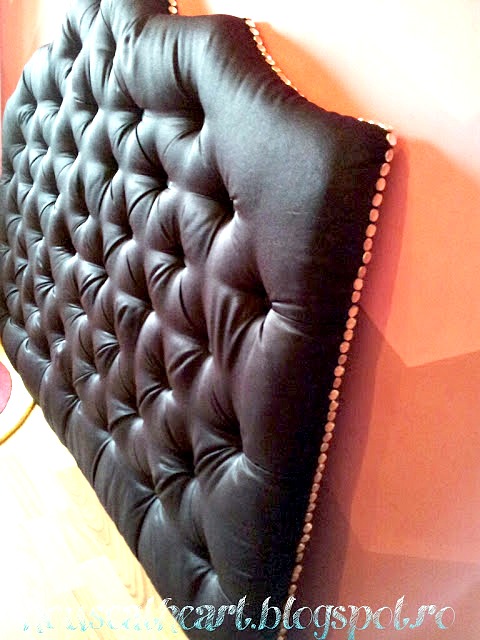
Her living room is done. To see more of this beautiful room and the "before",
. Meg also had some great
.
It was so fun for me to know that I inspired someone to make a change in their own home.
Have a great weekend, friends!
One Light, Four Ways Giveaway!
Hello, and thanks for coming back to see my custom
. In case you missed it, there are four of us
designing our own light fixture
s
. Here is my custom light.
It is lit with
. That means the kids can forget to turn it off, and I won't get mad. #teenagers
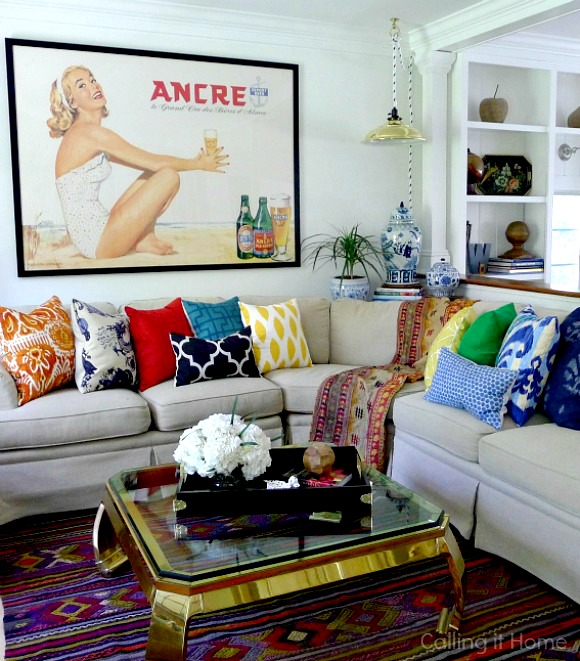
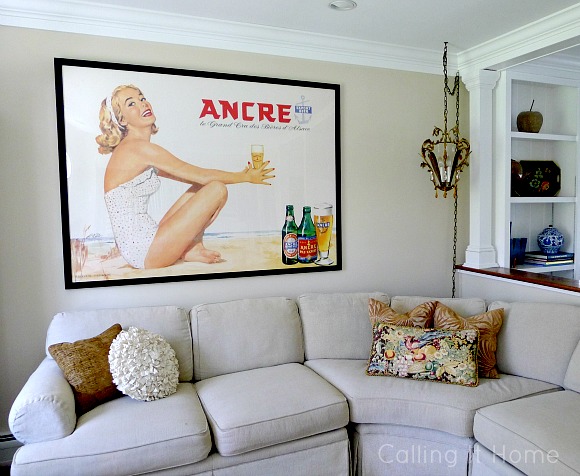
Remember how the space started.
You can read about my
and you can find my
rug and Kantha quilt sources here
.
For the fixture, I chose the large
Merchant shade in unlacquered brass
. That way, she can age gracefully...wish I could say the same for moi.

I wrapped the cord with a nautical twisted rope. I bought it at a boating store, but I am sure you can find this stuff at a big hardware store.

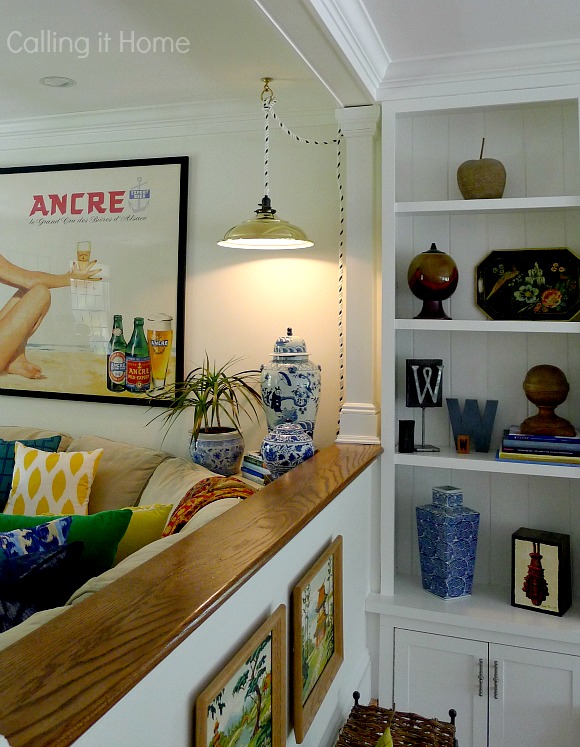

The pretty flower shot.

And now for the GIVEAWAY!!
is giving away a $100. gift certificate to one lucky reader.
You can use it for anything Rejuvenation sells. I am sure my savvy readers checked out the site last week.....and even practiced
of your own. I am guessing you know how you would use this if you win?
If it were me, I would definitely consider
for my windows.

Now for the rules:
If you are a GFC follower or a
follower of my blog,
you have
3 chances to enter
Please make sure I have your email!
Follow
(one entry)
Follow
(one entry)
Pin something that you like from the
. (include the pin in your entry)
This giveaway will end Sunday, May 12th at midnight (EST). The winner will be announced on Monday, May 13th. The gift certificate will be mailed directly to you from Rejuvenation.
There is also a coupon code for today only! You can get a
15% discount site-wide by using "MONDAY15"!
This is an on-line only discount code.
Now let's go see what the other ladies designed, and of course
enter their giveaway too!
Good luck!