
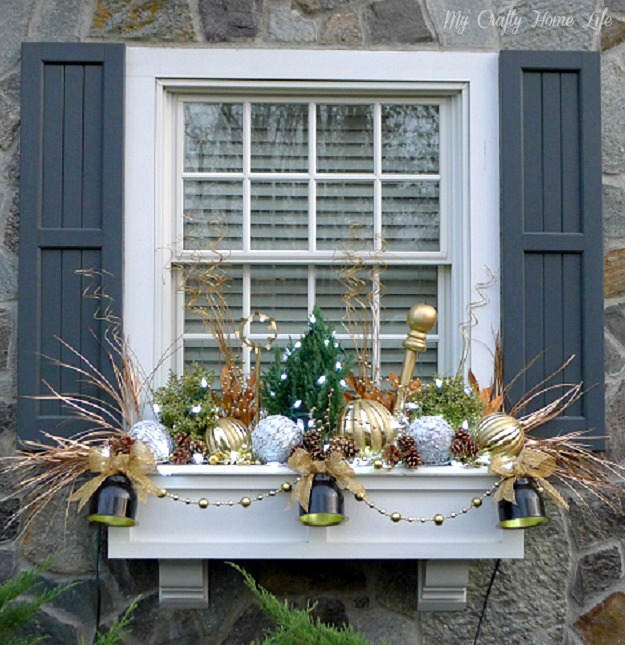
Updating My Window Boxes....Part 2
And here is the "Before"

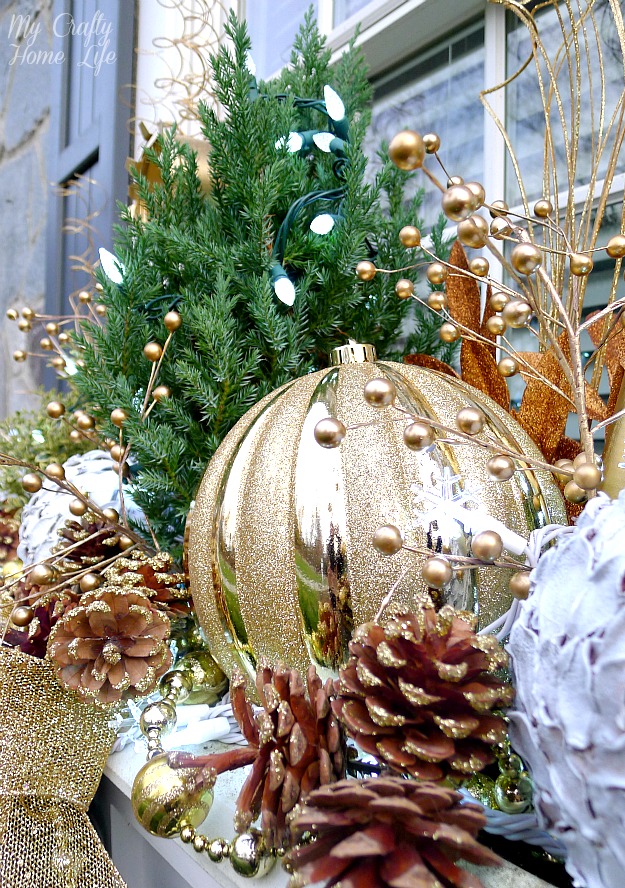
This is a case of more is better. If it wasn't nailed down....it went in
Here, you can see the duct tape closing the top of the cans and holding the holiday lights inside


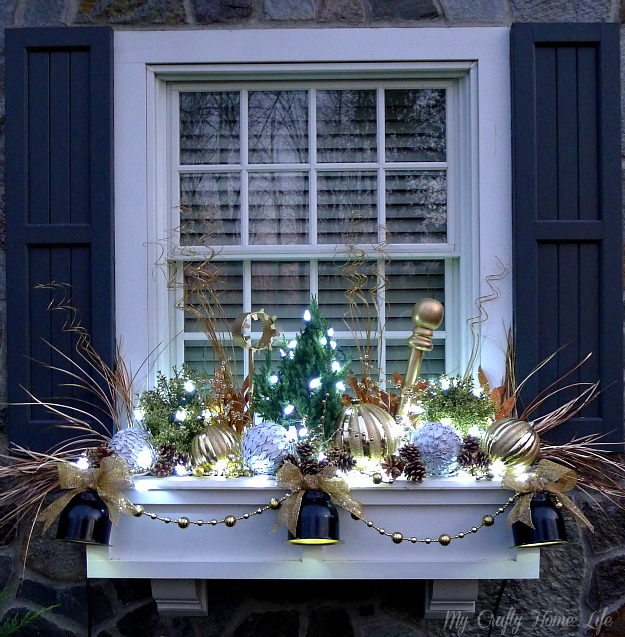
Since this had lights on it, I really wanted to catch it at different times of the early evening


I am so thankful to Lowe's. Not only did they sponsor this challenge, they wanted to make a donation to my favorite charity. Since it is almost Thanksgiving, and we are fortunate enough to have food on our table, I chose The Center For Food Action.
Do you want to know exactly how much Lowe's cares? Check out their Social Responsibility Page.

I'm going to show this to my husband because he doesn't even know how to turn on the vacuum.

Nantucket STyle - Vivid Hue Home
Heather is one busy girl, this week. Yesterday, she guest posted on The Pink Pagoda, and today she is here. I love Heather's style, it is Palm Beach meets Traditional with a splash of fun. I think you will really like what she has done for us.
Hi, I'm Heather from Vivid Hue Home! I'm thrilled that Linda asked me to participate in her 31 Days of Nantucket Style. If you're familiar with Vivid Hue Home, you know by now that I love to mix and match patterns and styles. My philosophy is that design is meant to convey the best of a person's personality. I'm not an interior designer. Just a design enthusiast that loves to experiment in my own home.

I live smack dab in the middle of Connecticut so there is very little about my home that transcends Nantucket style...that is until I decided to have a little bit o fun for this challenge. I decided to a use a little Olioboard magic to create some Nantucket style right here in good ole Connecticut.
This is my Connecticut sun room. It's surrounded with shades of turquoise, teals, pea greens and a burst of yellow and orange here and there.

And voila, here is my 'Nantucket' sun room.
I created a more serene color palate with fresh crisp linen slip covered chairs and flax colored throw pillows (thank you Serena and Lily!). Of course a few hydrangeas on an over sized brushed wood table and and over sized storage basket complete the space! For a more detailed tour of my *real* sun room, please visit here.

My living room in Connecticut is somewhat traditional modern. There are many different textures and patterns but the palate is filled with gray, ebony, ivory, gold, beige and rust tones.

For my Nantucket style room, I decided to follow a more worldly approach. I envisioned antiques and vintage textiles. Maybe eclectic items that had been passed down through the family from generation to generation with hints of nautical represented in paintings and throw pillows. A touch of modern glam is presented in the zebra animal print ottoman. This is usually not my every day style but since this is olioboard, I decided to have a bit of fun with it. For a more detailed tour of my *real* living room, visit here.

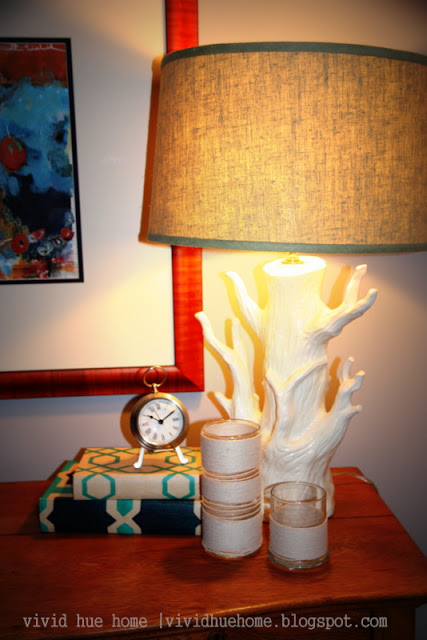
Lastly, I decided to embark on a little DIY project so I would have some lasting Nantucket style to remain in my home in honor of Linda. Like a dork, I didn't take great before photos for this project but this is sooo simple anyone can do it. I literally purchased vases and twine from the dollar store. I used my glue gun to glue the twine around the holder. (I decided to do a little design around the taller one so that mismatch was on purpose). These now reside in my guest bedroom next to my tree branch lamp.

I hope you've enjoyed a taste of Nantucket style in Connecticut. Please feel free to join me over at Vivid Hue Home anytime! And stop on over for a full house tour anytime! Thank you Linda for having me!
xoxo Heather from Vivid Hue Home
xoxo Heather from Vivid Hue Home
Thank's Heather, you really rocked that DIY....I'm impressed.
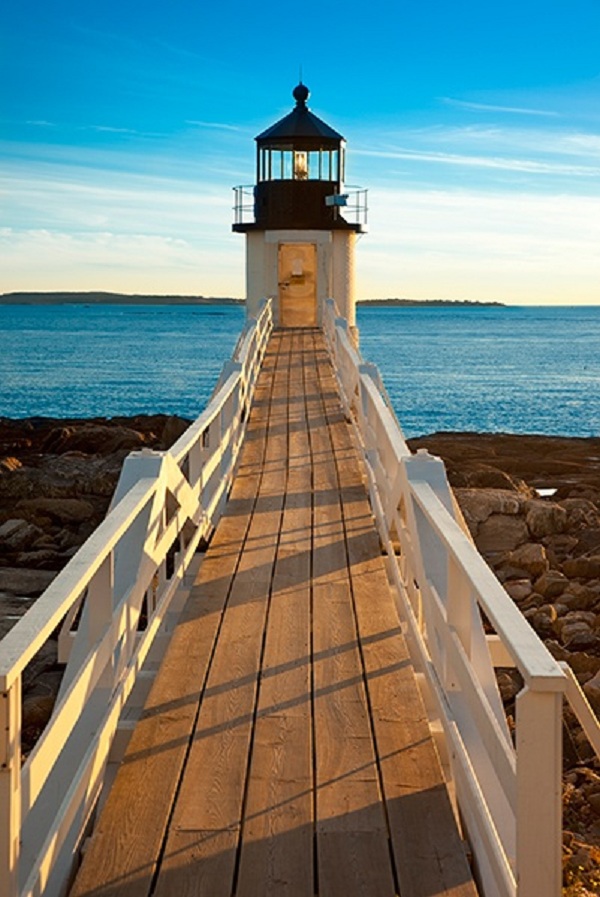
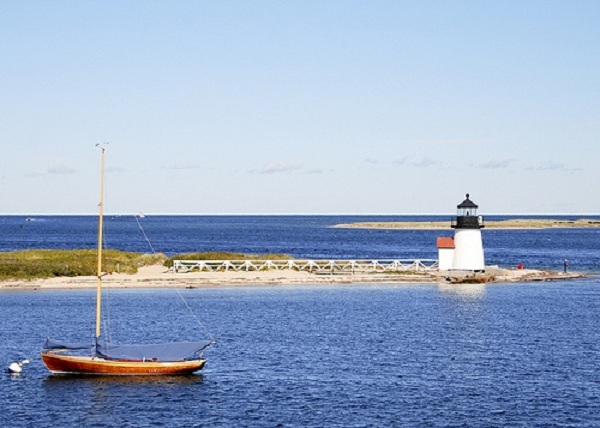
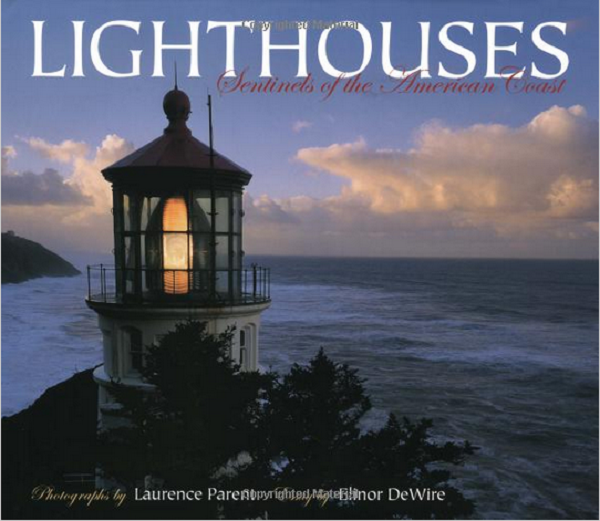
Lighthouses
Coastal dreaming would not be complete without enjoying the beauty of Lighthouses. Distressed or newly renovated, I find them aesthetically pleasing. This would be my idea of an ocean view tree house. I would grab a thick yummy throw blanket, a pillow, my iPod.....and my laptop....I would nap and blog here. Too bad other tourists would want to come along and ruin my solitude.
 |
| via |
 |
| via |
 |
| via |
 |
| via |
 |
| via |
 |
| via |

Nantucket Style....DIY
Continuing with my 31 Days of Nantucket Style, I thought a little DIY would be fun for the weekend.
I poked and clicked around and found a few projects to fit the beachy coastal vibe of Nantucket. I have included the links to the tutorials and thought I would share them.
 |
| Design Sponge |
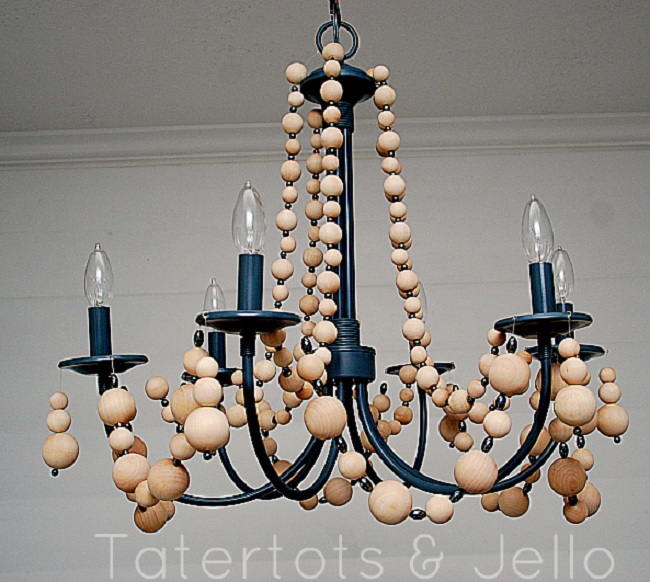
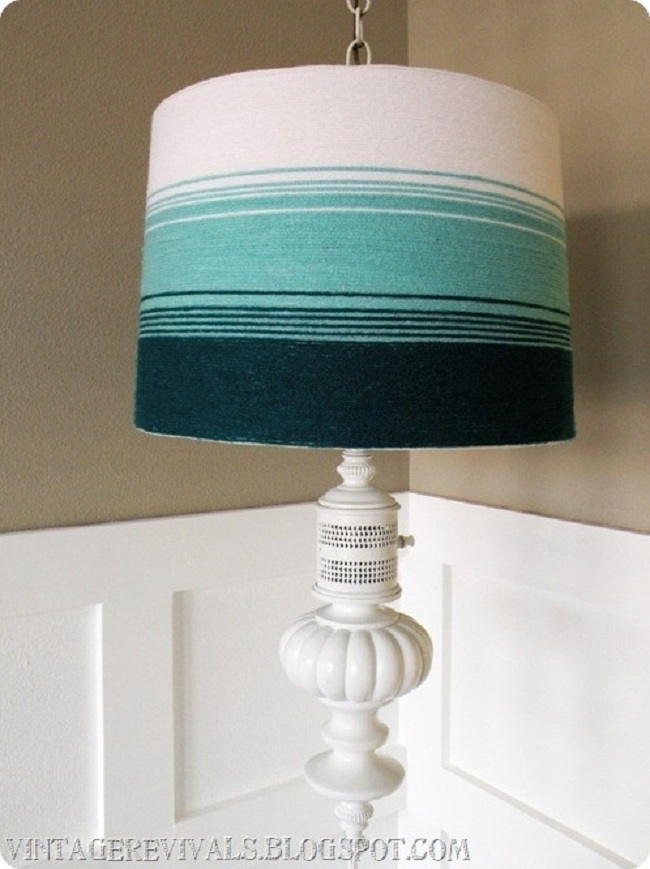
Beachy Chandelier from Tatertots & Jello

Paint A Rug Party...take 2
I'm Done! Just kidding. Welcome back to week 2 of the Paint a Rug Party. For week one, go here. You may recall that I am working on a square rug in my dressing area. Well, this is my official inspiration. I am going to attempt this Greek Key rug.
 |
| Frontgate |
I stumbled upon Tatertots & Jello's Greek Key rug tutorial. If you are using the Ikea rectangular rug...then go there and print one of these out
 |
| Tatertots & Jello |
It's the perfect grid layout for the Ikea rug. She said it was a lot of Algebra. I love algebra, and feel that geometry is a more accurate description.
Regardless, if you are using an existing rug, then scrap all of the above...because you we will never be lucky enough to have it that easy.
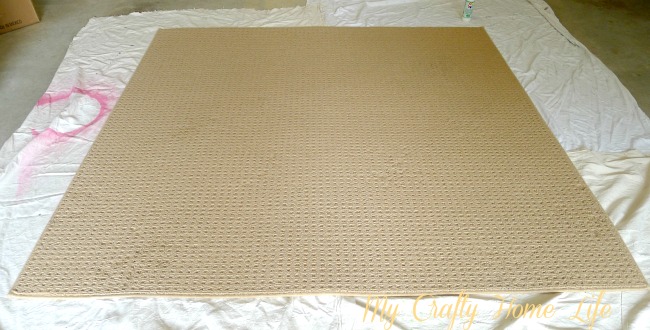
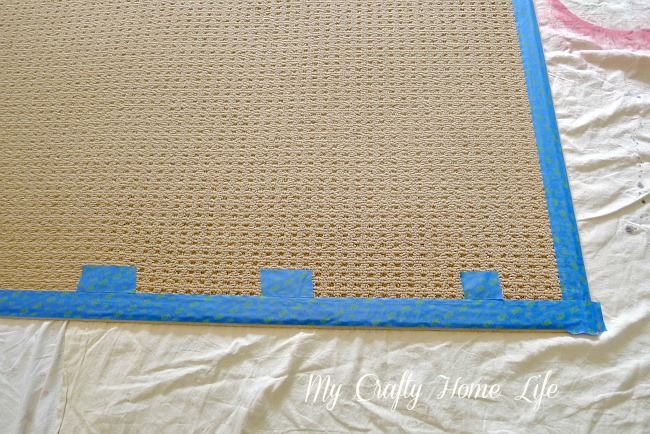
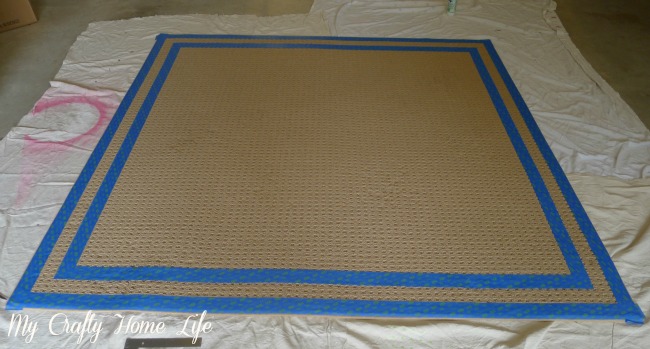
Here is the rug, and one thing is for sure....it will never look like this, again.
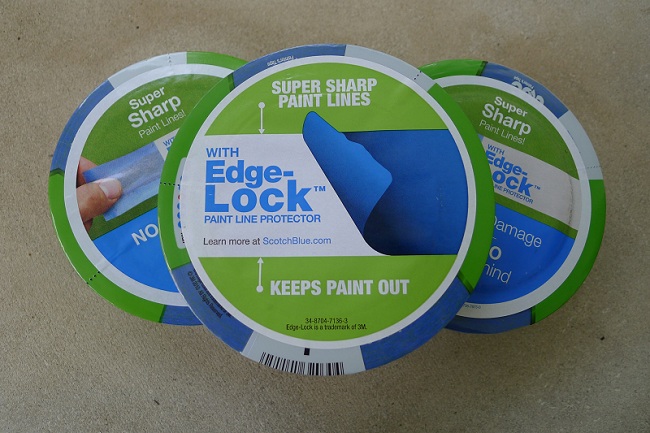
I had no idea what size tape to use, so I bought 3 sizes
I started with the 2" wide tape for the boarder. Most of the rug tutorials...OK, all of them, use a huge amount of tape, and then peal away for the painted spaces. Being as thrifty as I can be when I want to.....I decided to spot pieces of tape to set an even distance for the next row.
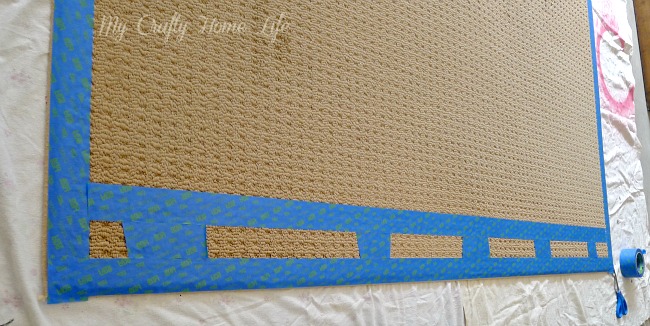
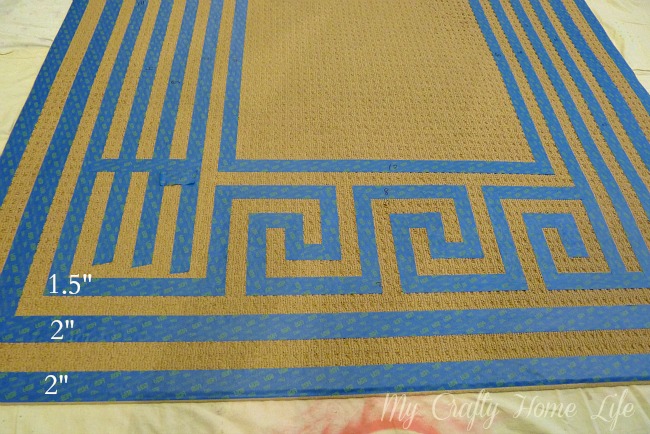
Using the edge of the tape as my guide, I would run the next row.
I used a razor blade to cut the edges straight.
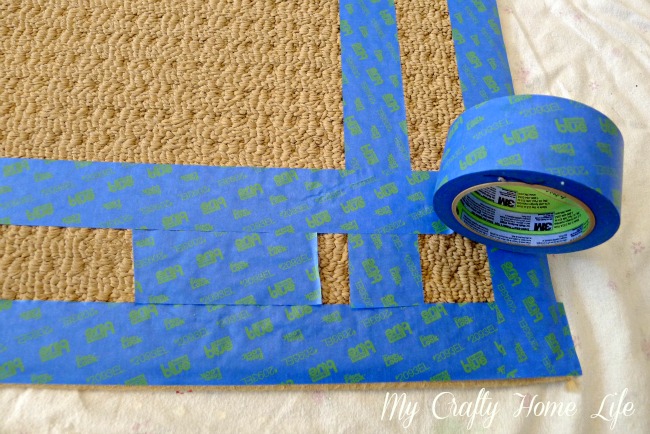
Here is where I started rethinking the entire project....REMEMBER the tape will be the original color of the rug. You have to keep thinking in reverse.
After measuring the inside dimension, It was clear that the 2" tape was too big to continue. So, I changed to the 1.5" tape for the pattern portion. I wold try to do a few rows on one side before I moved to the next.

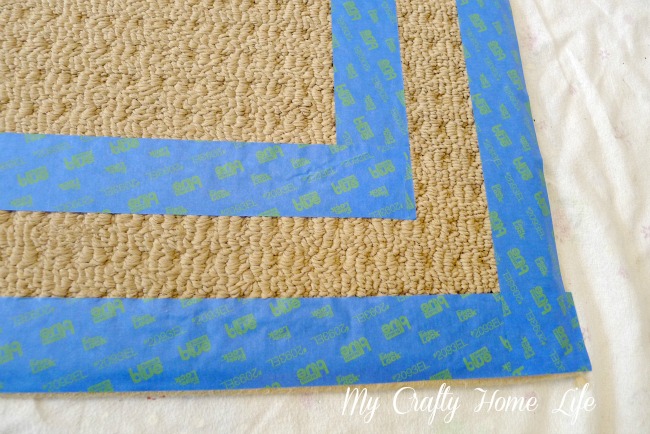
And before I knew it, I lost my square corners, and my marbles.

I kept at because I knew you were coming by to take a peak.
It started resembling the pattern. I think I will do the center portions on all four sides, and then cheat the corners where needed.

Paint A Rug Party!
Last month, I invited everyone to join in and attempt a rug painting project. There are no rules except for the timeline....three weeks.
12 brave bloggers have agreed to participate and document their process along the way. I am fairly certain that none of us have ever tried to paint a rug. Hopefully, this group will offer plenty of tips and inspiration. I know it will be entertaining....these ladies are fun...and funny!
I hope you stick with us for the next three Thursday's.
Here is the low down of my rug project.
This is the little dressing area between my bedroom and bathroom.

The entire space could use a makeover, but for now I'm going to concentrate on the bland rug.
I am actually going to paint the existing rug...well, that's what I'm thinking. It's a bit worn, so I hope the paint will
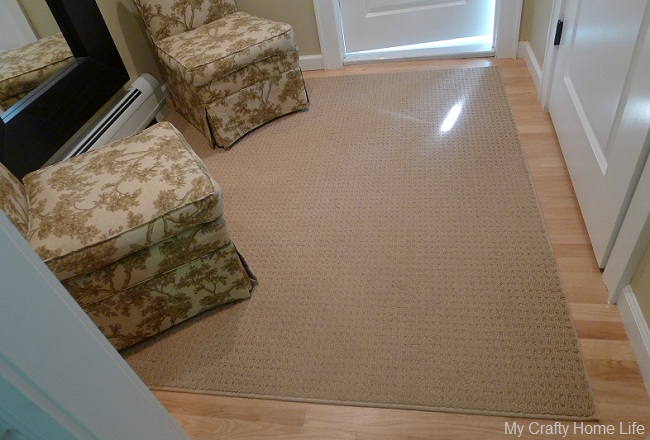
It has a woven waffle pattern, and I have a feeling that will be the death of me. I can't remember if it is 100% wool? I am also guessing that painting on synthetic can lead to additional headaches? I will definitely let you know.
Now for my inspiration....might as well dream big.
At first I was thinking Greek key
 |
| Jonathan Adler via Decor Pad |
How about stripes?
 |
| Jonathan Adler |
That might be too ambitious.
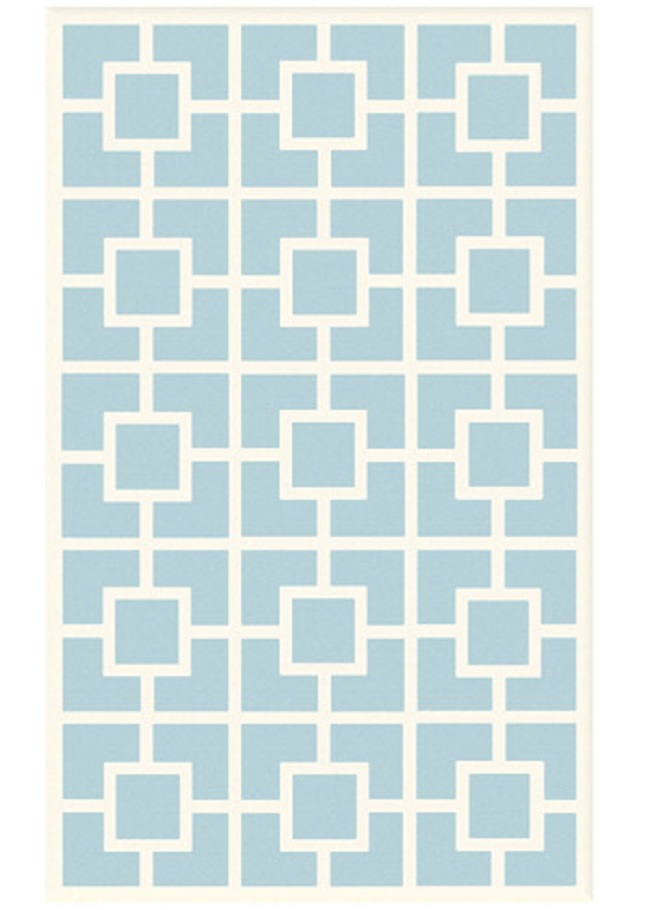
Maybe squares
 |
| Jonathan Adler |
 |
| Labyrinth via Layla Grayce |