
I am Hooked on Hooked on Houses!

I'm sure the blog, Hooked on Houses is nothing new to any of you....and like most of you, I am hooked!
It is no secret that I have a love for all things Hampton's, and all things Nantucket! In fact, IN MY MIND, my home is the Nantucket beach house....that I will never have. So, naturally, when I saw the commercials for the television show Revenge

...and found out that it takes place in the Hampton's.....I was all in!
Back to Hooked on Houses, I don't know how Julia does it, she manages to have posts on every show or movie I have ever wanted a closer look at! Here are photo's from her site that are of the television set, Revenge
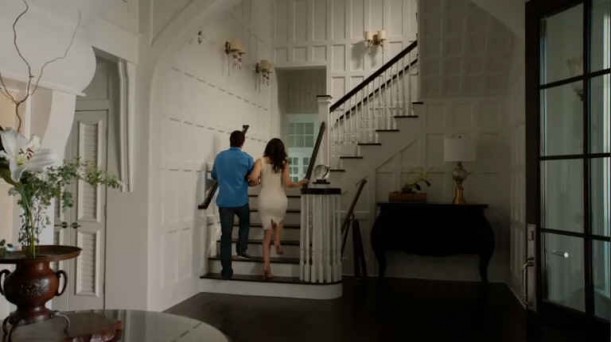 |
| Hooked on Houses |
Another image
 |
| Hooked on Houses |
...and just for fun, because I told you that Julia has EVERY home I could think of.....check out a very old set that is now so chic
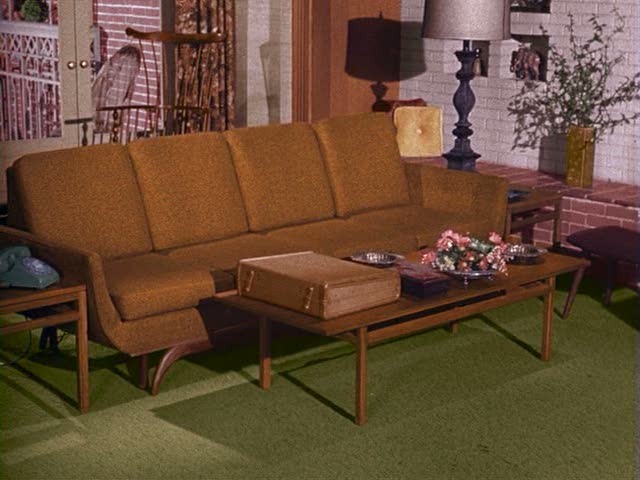 |
| Bewitched |
How to install V-Groove Paneling (beadboard)(plank)
I love the plank paneling look. It is everywhere. In fact, I have it on my kitchen ceiling.
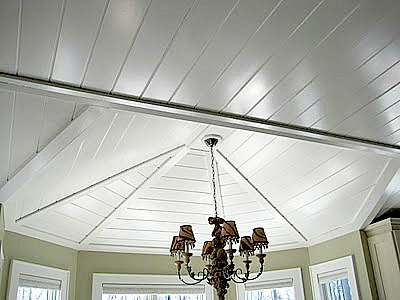
The ceiling is made up of MDF sheets with a V-groove scored every 6".
I decided to give my basement entry the same treatment.
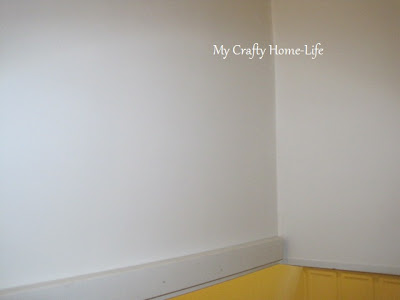
Here is the "before"
 B-O-R-I-N-G...and a bit depressing. It was also too dark.
So, I purchased this
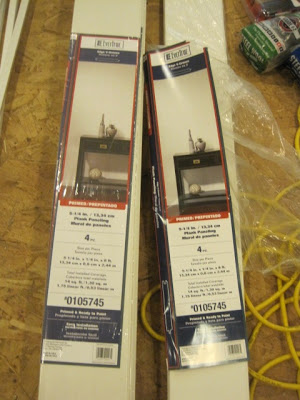 Packages of MDF V-Groove Plank Paneling. They are 8' long and over 5" wide. Since it is Tongue-and-groove, it will go together easily.
My tools


First, decide where you want to start. I started in the most noticeable place. The first few rows are the straightest. Hide the imperfections of your walls or ceiling in areas that are not in your common sight line.
Next, decide how you want to handle corners, starting places and stopping points. This is where I used the MDF trim.
For a modern take, I decided to run the planks horizontally. Here is what I did
Attach the 1x2 trim to the wall
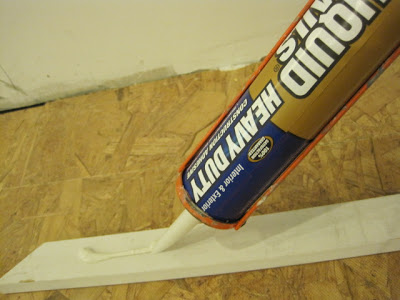 add a bead of glue
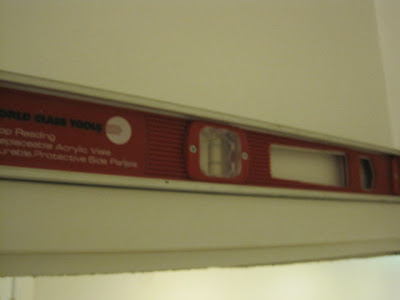 using a level, make sure it is perfectly straight
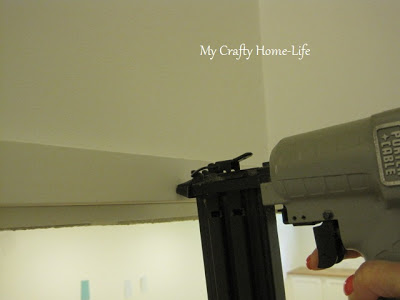 and nail!
Now you are ready for your first board
adding glue to the back of every board, place the board on top of the 1x2
 check for level, and nail. Let the glue do most of the work, don't over-nail. This will save you time in puttying.
continue
 checking for level every few boards.
Here is how I handled the unusual angles
 draw a level line on the wall (notice handrail on right)
 hold a scrap piece of plank up to the line. with a straight edge resting along the angle (handrail)
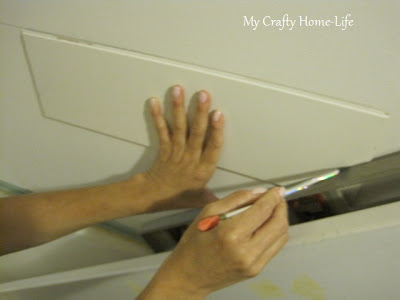 draw the angle. Make the practice cut, and test. When you are happy with the cut, use the real plank for the final cut.
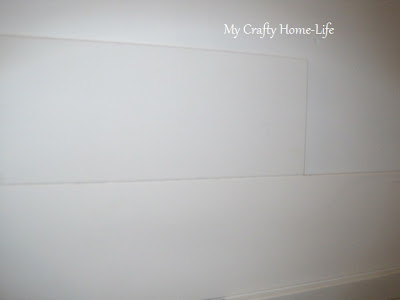
Another look at the "before" & "after"


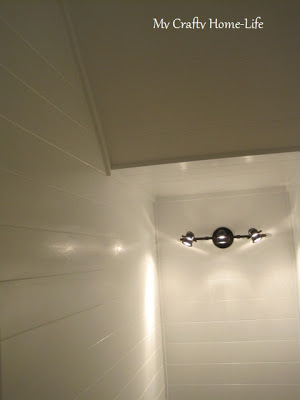
Oh yeah, I added a light fixture too! I think my dining room is next.
What are you working on?
I decided to give my basement entry the same treatment.
Here is the "before"
So, I purchased this
My tools
Other materials I used
1x1 & 1x2 MDF trim
First, decide where you want to start. I started in the most noticeable place. The first few rows are the straightest. Hide the imperfections of your walls or ceiling in areas that are not in your common sight line.
Next, decide how you want to handle corners, starting places and stopping points. This is where I used the MDF trim.
For a modern take, I decided to run the planks horizontally. Here is what I did
Attach the 1x2 trim to the wall
Now you are ready for your first board
adding glue to the back of every board, place the board on top of the 1x2
continue
Here is how I handled the unusual angles
Another look at the "before" & "after"
Oh yeah, I added a light fixture too! I think my dining room is next.
What are you working on?
New Jersey Homes for Sale (part 1)
It's not what you think.......


 This is New Jersey....not what you thought?
We are not in New England
This is not the Hamptons
This is not Connedticut
Hampton Homes
Today, I am admiring the exteriors of Hampton Homes. All of the photos are from homes for sale.


This was a fun break from the day to day of Monday!
Love the stepping stones
This was a fun break from the day to day of Monday!
Curb Appeal for the Garden Shed
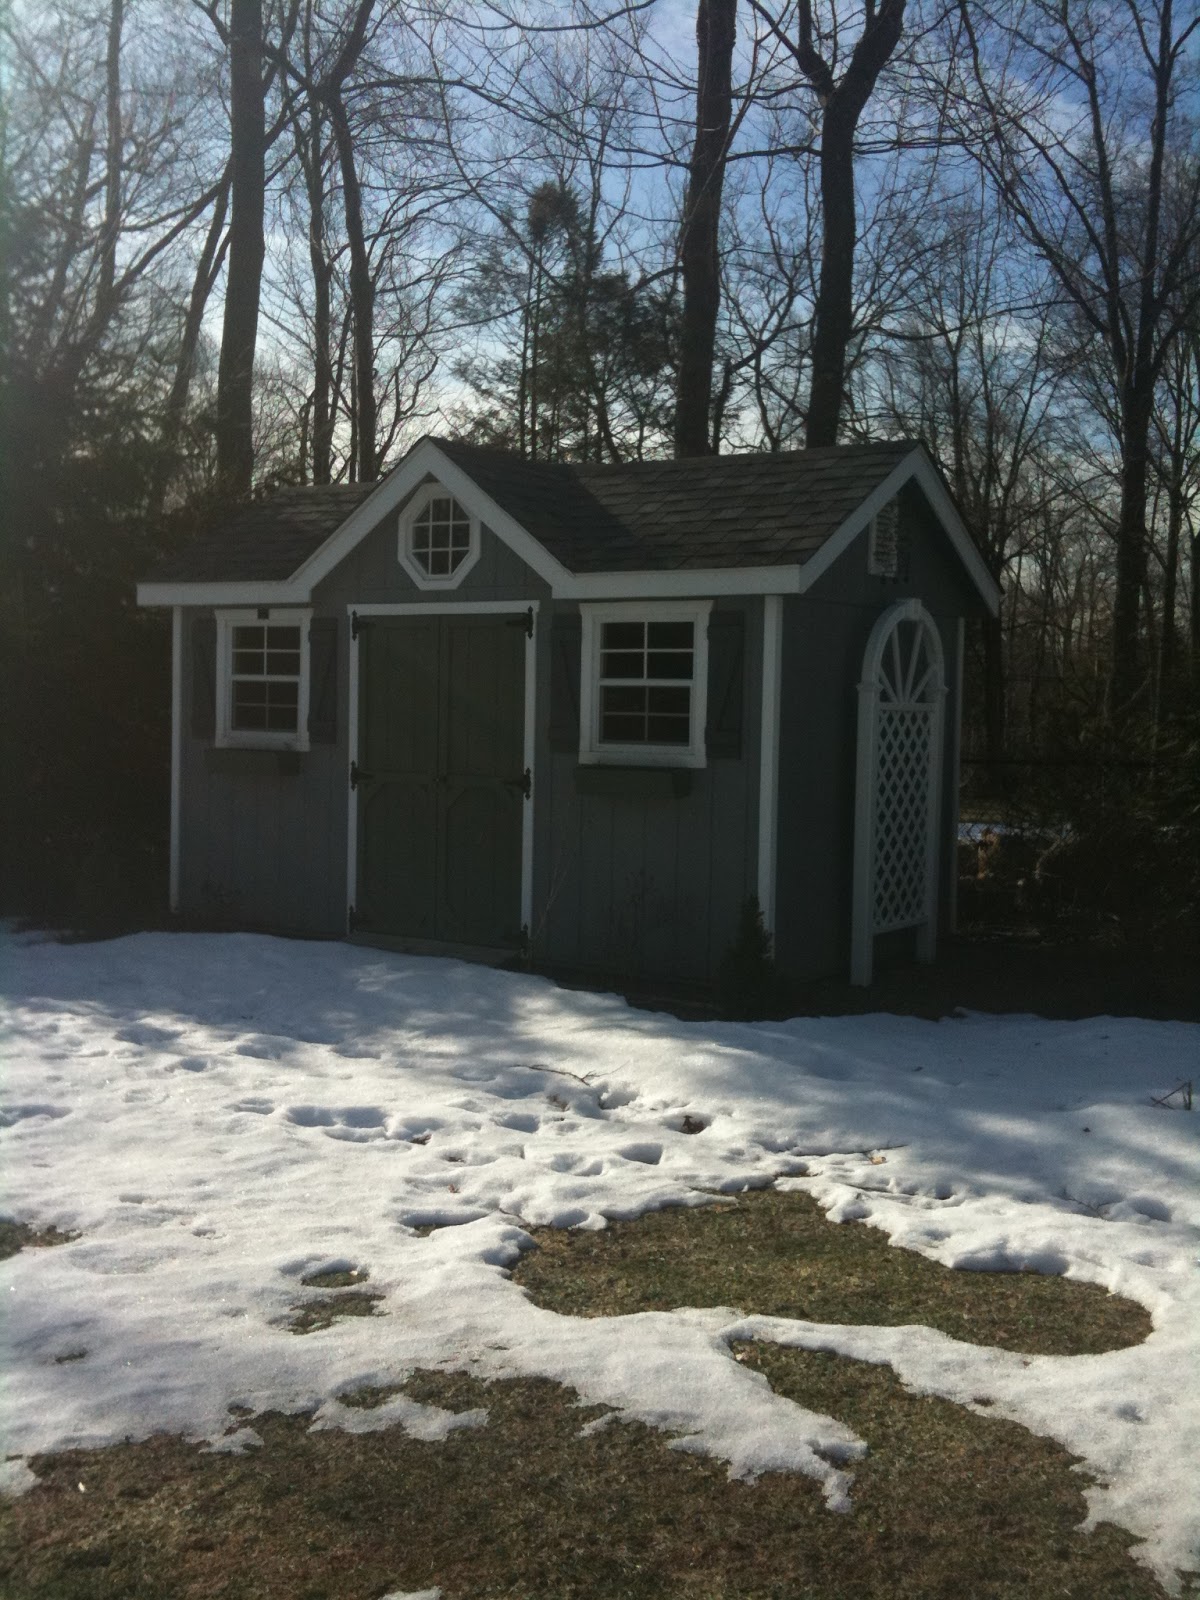
My garden shed could use a little extra something. I want it to have more curb appeal.
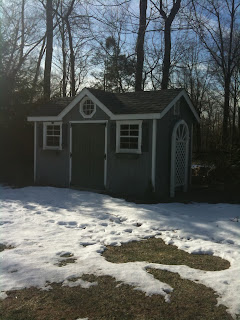 Sorry the photo is so dark, still fighting with technology (technology is winning by a landslide!). I love the idea of a potting shed. A place to go an putter around for an afternoon. Something like this;

I think I am going to add a hitching post, even though I don't own a horse.

That might be just the extra charm that I have been looking for.
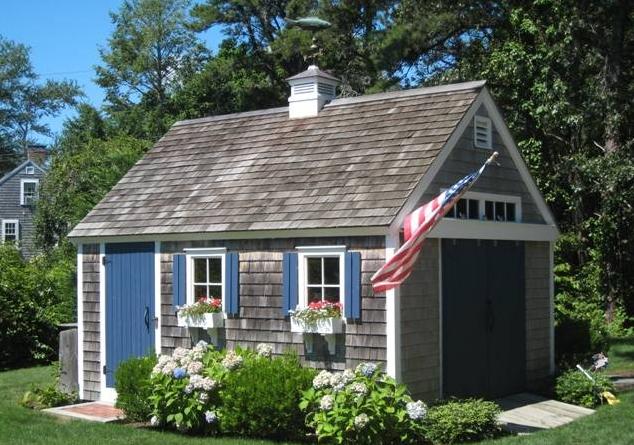
from Cape Cod Sheds.
Or this beauty from Sunset Magazine;
That might be just the extra charm that I have been looking for.
Gardening in my mind
The snow is finally melting and I am planning a renovation of my current vegetable/cutting garden. The raised beds are about 10 years old, and could use a face-lift. I have also decided to focus more on vegetables and less on flowers, so plenty of transplanting in the near future.
This is my inspiration for my Potager Garden - A French version of the "Kitchen Garden".

Sunset Mag

Coastal Living

Vegetablegardener.com
As I write this, a small family of deer are walking along my back fence. Looks like

is going to have a busy season ahead!